Knowing who is using your site and how is a vital part of managing any website. You’ll need to know how people find and use your site to make decisions about what your site needs.
To get that kind of information, you’re going to need to install some form of analytics on your site. There are many web analytics services available, but the industry standard is Google Analytics. It’s robust, for most purposes it’s free, it integrates with Google Ads, and it’s relatively easy to get started. It’s made by Google, and love them or hate them, they are the masters of tracking information across the web.
This article will walk you through the basics of how to attach Google Analytics (GA) to your site. GA is a deep platform with its own learning curve, much more than can be covered in one article. Once you have GA running, you can start learning about how to use that data effectively. But first things first!
While GA is easy to set-up, you’ll need either admin access to your site’s CMS, or direct access to the HTML code. For the purposes of this article, I’ll show how to set up Google Analytics on a WordPress site. However, the core information here is relevant to all websites.
1. Create a Google Analytics account.
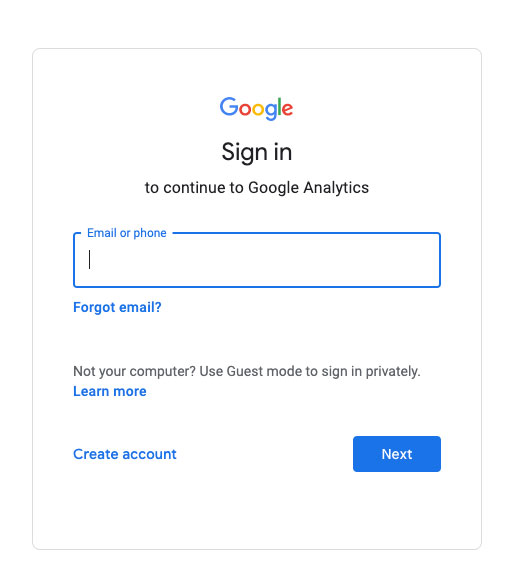
This step is the most straight-forward. Head over to Google Analytics, and either login with an existing Google account, or create a new account. Later, you’ll be able to enable access from multiple accounts, or transfer ownership to a different account. Don’t sweat this step too much.
2. Create a new web property.
Once you’ve successfully logged in, you’ll see the GA dashboard. This is designed to give you a ‘quick-glance’ view of the currently selected web property.
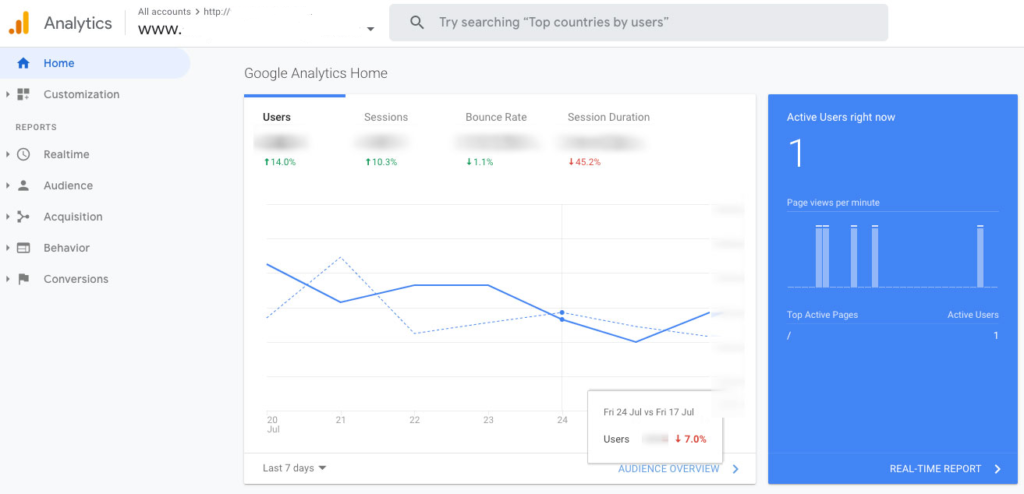
The GA dashboard can be difficult to navigate at first, but don’t be intimidated. To set up a new web property (Usually this is a website, but you can also use GA to track things like mobile apps.) Click on ‘Admin’ at the bottom of the left-hand panel on the page. This will open up a new modal that should show 3 columns, for ‘account’, ‘property’, and ‘view’. You’ll need to click on the ‘Create Property’ button, select ‘Website’, and then fill out your website’s name and URL before hitting ‘Create’.
3. Find your tracking code.
Back in the Admin panel, you should now see a long column of options underneath your new web property. The one we’re concerned with right now is ‘Tracking Info,’ and then inside of that option, ‘Tracking code.’
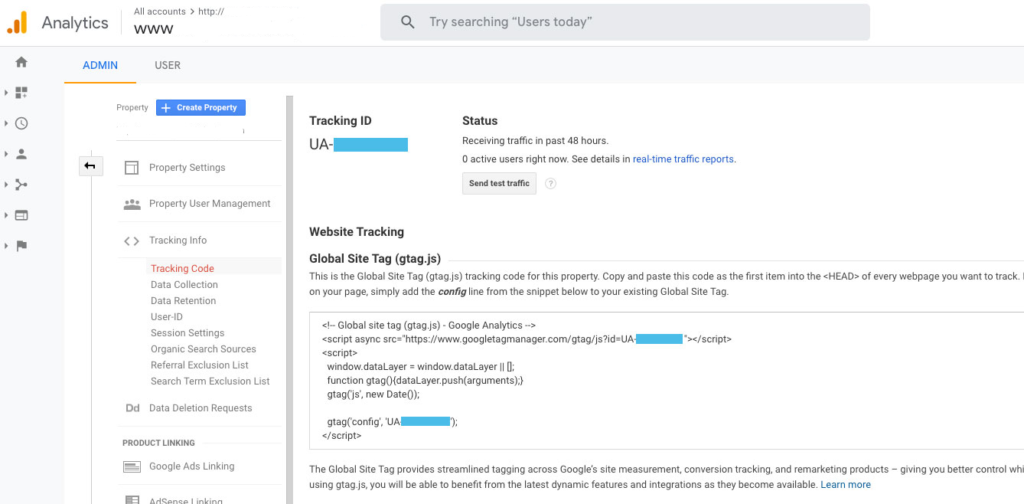
There are 2 pieces of information that are immediately relevant: The ‘Tracking ID’ and the ‘Global Site Tag’.
The Tracking ID is Google’s unique identifier or your web property. A site or page that uses that ID when communicating with GA will send analytics to this dashboard. The Global Site Tag is a snippet of javascript code that includes that ID and if added to a page will hook it up to GA.
You will need to copy one of these over to add to your site. However, which one you need will depend on how you plan to do the next step.
4. Attach GA to your site.
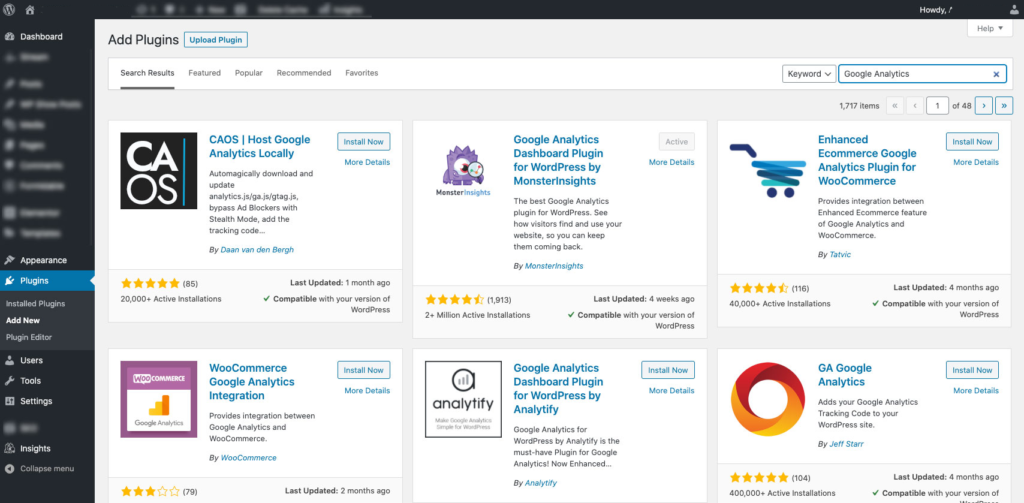
If you are using an established CMS, there is probably a pre-built solution that only requires the Tracking ID. If you’re using WordPress, probably the best way is to use a plugin. There are a couple reasons why you might want to use a plugin. It boils down to ‘It’s harder to accidentally break something this way.’ You can search for GA plugins from the WordPress dashboard in Plugins -> Add New. There are many GA plugins available; we generally use Monster Insights. You do NOT need to pay for a premium GA plugin if you are just starting out. The free versions will do just fine for now.
Your plugin (or other pre-built solution) will require you to add the Tracking ID after being installed and activated. The Global Site Tag will be handled for you by the plugin.
If you’re not using WordPress, start with a Google search for ‘add Google Analytics to your-CMS-name.’ All the steps we’ve taken up to this point will remain the same for any platform.
Otherwise, the other way to attach GA to your site is by adding the Global Site Tag to your site’s HEAD tag. That means you’re going to need to edit the HTML for your site. It’s not a difficult edit, but if that’s not something you’re able or interested in doing, you’ll need to contact your site developer.
If you’re using WordPress but for some reason don’t want to use a plugin, you can still add GA in this way. You can usually find your HEAD tag under Appearance -> Theme Editor -> Header.php. The Global Site Tag will need to be pasted in directly before the closing ‘</HEAD>’ tag.
Go ahead and Save (or update) the file, and you’re done.
5. You now can track who’s on your site!
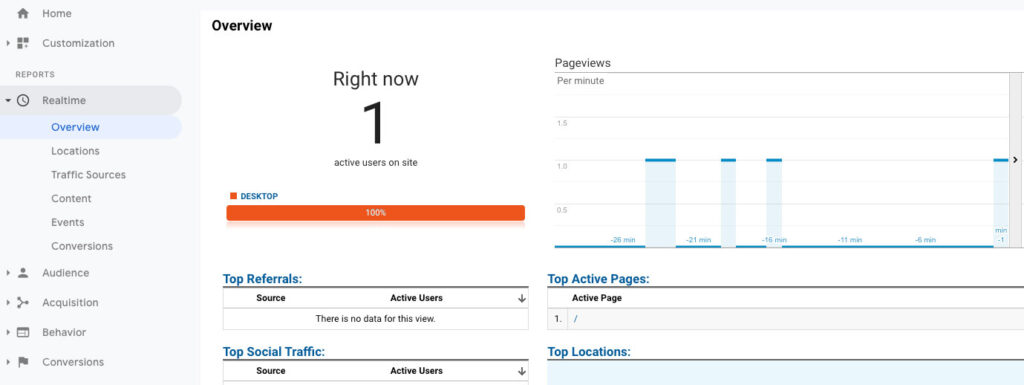
Back in Google Analytics, click on the ‘Home’ icon on the top-left. You’ll immediately see some charts appear, but since you JUST installed your tracking code, they’ll be empty. This data is collected every 24 hours or so. That’s fine. Click on ‘Real-time -> Overview’ from the left-hand panel. This window shows you who is on your site RIGHT NOW. If you have your site open in another tab, you should see at least 1 current user, and the page they’re viewing.
Now, if for some reason, you’re getting errors instead, your tracking code might be in the wrong spot. You can verify this using a site called GA Checker to detect whether or not your snippet has been placed correctly. I’m also going to link Google’s troubleshooting page here just in case.
6. Explore and learn more!
A tool is only effective if you know how to use it, so take some time to familiarize yourself with the wealth of data in your Google Analytics account. It’s a powerful resource with a lot of features you can put to work… if you know what you’re doing.
Want more information? Google even offers a Google Analytics Academy that you can use to learn more.
And that’s how you do it! You should now be up and running with Google Analytics installed on your site. You can use this to start getting more meaningful information about your website’s audience. And if you’re like me at all, you’re going to just stare at that little map of people logging on and off for hours.
Google Analytics 4 is set to replace Google Analytics on July 1, 2023. Keep an eye out for new blog posts soon for updating and using GA4. In the mean time, you may be interested in my recent post for building a quick and easy SEO Dashboard with Google Data Studio.

